30.11.10

I wish I Had More Sisters

I have three sisters - I found this piece by Brenda Shaughnessy ages ago but it somehow seems appropriate to post it while I'm hanging out with two of them in South Australia.  (found via First Milk).

I Wish I Had More Sisters:
I wish I had more sisters,
enough to fight with and still
have plenty more to confess to,
embellishing the fight so that I
look like I'm right and then turn
all my sisters, one by one, against
my sister. One sister will be so bad
the rest of us will have a purpose
in bringing her back to where
it's good (with us) and we'll feel
useful, and she will feel loved.

Then another sister
will have a tragedy, and again
we will unite in our grief, judging
her much less that we did the bad
sister. This time it was not
our sister's fault. This time
it could have happened to any
of us and in a way it did. We'll
know she wasn't the only
sister to suffer. We all suffer
with our choices, and we
all have our choice of sisters.

My sisters will seem like a bunch
of alternate me's, all the ways
I could have gone. I could see
how things pan out without
having to do the things myself.
The abortions, the divorces,
the arson, swindles, poison jelly.
But who could say they weren't
myself, we are so close. I mean,
who can tell the difference?

I could choose to be a fisherman's
wife, since I'd be able to visit
my sister in her mansion, sipping
bubbly for once, braying
to the others, who weren't invited.
I could be a traveller, a seer,
a poet, a potter, a flyswatter.
None of those choices would be
as desperate as they seem now.
My life would be like one finger
on a hand, a beautiful, usable, ringed,
wrung, piano-and-dishpan hand.

There would be both more and less
of me to have to bear. None of us
would be forced to be stronger
than we could be. Each of us could
be all of us. The pretty one.
The smart one. The bitter one.
The unaccountably-happy-
for-no-reason one. I could be,
for example, the hopeless
one, and the next day my sister
would take my place, and I would
hold her up until my arms gave way
and another sister would relieve me.


29.11.10

Going manual

Today we're going to be talking about manual mode.  Most of this information will only be applicable to bridge and DSLR users. My P&S (point and shoot) does have a manual mode settings, although it is cumbersome to use and to be honest I think that P&S cameras take better photos with auto-settings.  
Having said that, if you have a P&S camera and you want to give manual a try have a look if your camera has something called "M" or manual.  On mine I can adjust the exposure to over or under expose, select the white balance, choose Sepia or B&W and change the filter.  This is enough to help you experiment with over and under exposure.

But onto manual.  In manual we are going to control the aperture, the shutter speed and the ISO.  I always start with ISO as I can generally pick which ISO setting I'm going to need in a given situation. 

ISO 100 - 200 : bright, sunny days and good lighting situations
ISO 400 - 800 : dim or poor lighting
ISO 1600 +: night time, inside old buildings 

I use a Canon 400D and I don't really like going above ISO400 due to the noise that I get at higher ISO (see back to ISO for a recap).  Newer and more sophisticated Canon dSLR (50D, 5D Mark II, 7D) give you better ISO ranges.  With Nikon cameras the lowest you can go with ISO 200.  You will need to experiment with your own camera to know what ISO range is good for you.

Once the ISO is set, I decide which aperture I want.  This is based mostly on the depth of field that I am after.  If I'm taking a picture of a flower I might choose a wide-open aperture (f/2.8).  If I want to take a landscape shot I might choose a narrower aperture like f/16.

The third step is to adjust your shutter speed.  Move your shutter speed up or down until your photo is correctly exposed.  Your photo is correctly exposed when the meter bar is sitting in the middle of your level.

Notice how I didn't say that this was the last step?  Well, now you need to take a look at your settings.  Is this shutter speed realistic?  If it is too slow and you are worried about camera shake you need to adjust either the ISO or the aperture.  I always adjust the ISO first (if possible).  Once you have adjusted the ISO you will need to slightly shift you shutter speed again until your meter bar is sitting in the middle of your level.

Still too slow and you've reached your maximum ISO range?  Now you need to adjust the aperture, until you are happy with the shutter speed.

Often if you're taking photos in similar lighting conditions you will only need to do this only once, the settings will stay roughly the same as long as you're not dipping in and out of shade and you can just snap away.

However, it stills seems pretty time consuming, right?  And you can achieve much the same effect with aperture priority, huh?  Yes, and often aperture priority will give you the results you are after - but only if you don't consider metering.  

Next week: Metering


26.11.10

Heinrich Kuhn

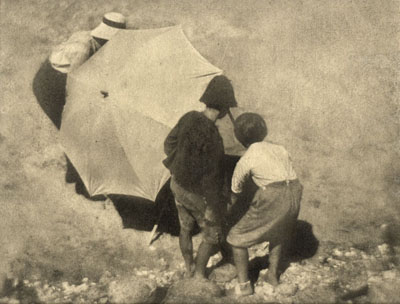
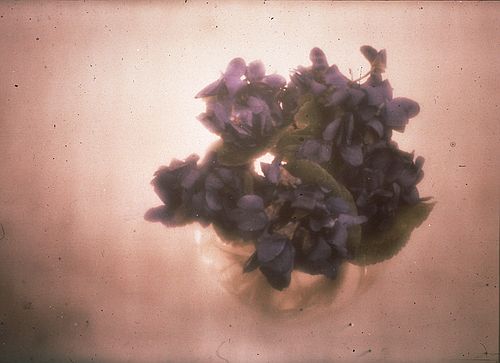
My sister recommend that I check out Heinrich Kuhn's autochromes.  I'm so glad that I did (and that she sent me the link).  Born in Germany in 1866, he became a doctor, moved to Vienna and fell in love with photography.  I like this story for so many reasons and I like his work even more. He was eventually awarded an Honorary Doctorate of Philosophy from the University of Innsbruck and died in Austria in 1944.

More photos and info here.

24.11.10

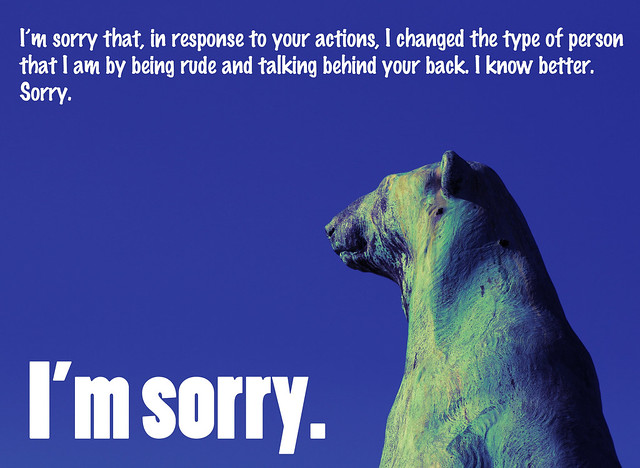
Apology #1

No5_bekind

Every Wednesday while I'm on holiday in Australia I'm posting one apology, accompanied by a picture, from the Kind Campaign.  For more information about why, see this post here.

23.11.10

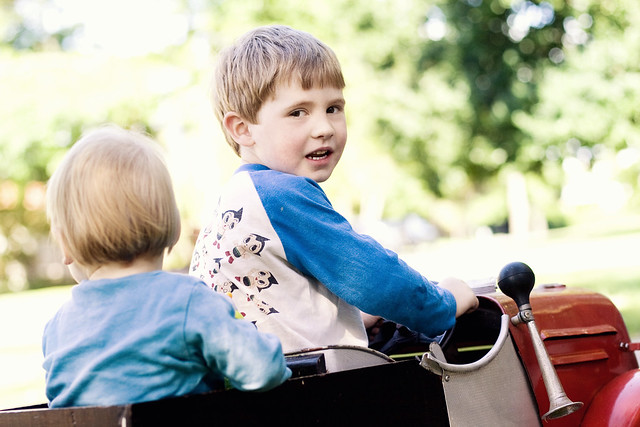
car

My great grand-father made this car.  Somewhere amongst the hundreds of photos that are piled up in my parents house there's a photo of my sister and I sitting in almost the exact same position - so much fun on a sunny afternoon.
Rowan and Otto

22.11.10

Black and White


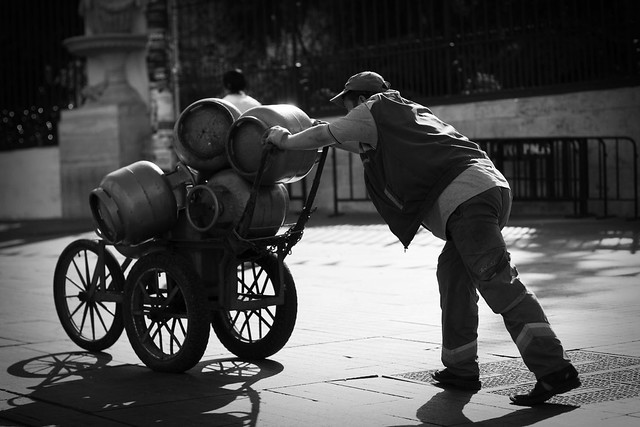
Pushing Cans
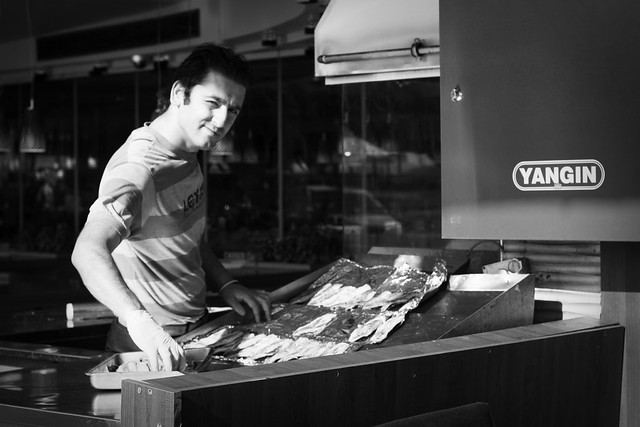
Dried Fish
The photos above are two of my favourites from my trip to Istanbul in September.  Funnily enough, they were rubbish straight out of the camera and I thought about deleting them before I started editing.  Both had distracting highlights and shadows and in the second photo one side of the man's face was completely over-exposed. But problems in the colour versions became features in black and white.    

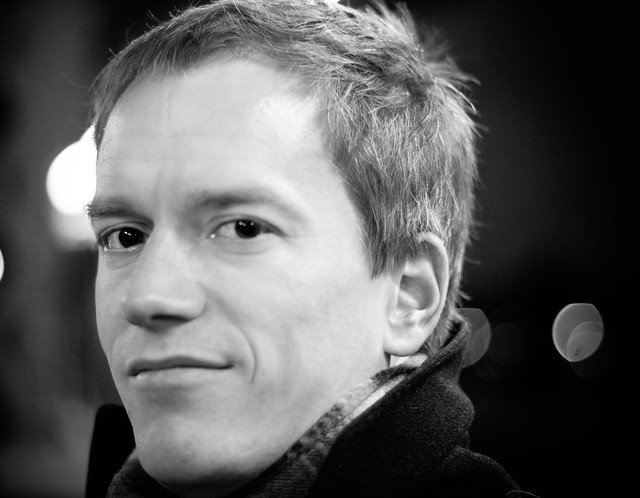
Here's a second example, a photo I took of Matthias while we were waiting at the train station on evening recently.  The straight-out-of-the-camera (SOOC) is not bad, but the over-exposed halos from the lights are a little off-putting and the change in background from left to right looks weird.  The white balance is also not quite right and he's skin is a bit jaundiced.
Matthias
In black and white, the light above his right eye is still a bit distracting, but overall I like the picture a lot more.  This trick for 'saving' photographs works best if you're unhappy with the color composition in some way, or if the shadows and highlights are too harsh.  Unfortunately it won't save an unfocused or badly composed shot.

Next week: Metering

19.11.10

Marianne Breslauer (1909 - 2001)


Marianne Breslauer (1909 - 2001) is my current photography muse.  She was part of a small, Germanic circle of female photographers that flourished between the wars. 

Marianne eventually fled Germany to the Netherlands before immigrating permanently to Switzerland.  She married the art dealer Walter Feilchenfeldt and took very few professional photos after 1936. 

18.11.10

New York

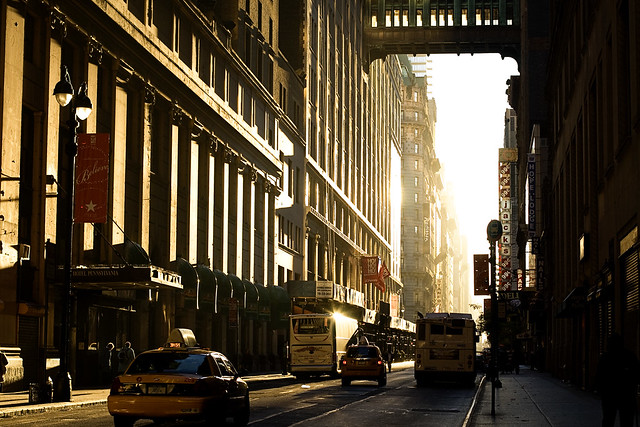
Some left-overs from New York which I wanted to share.

Brushes

16.11.10

High Line

A trip to High Line near the Meat-packing District - the best recommendation so far.

building over path
between walls
knitter
High Line
rail track
Jersey

Sunrise

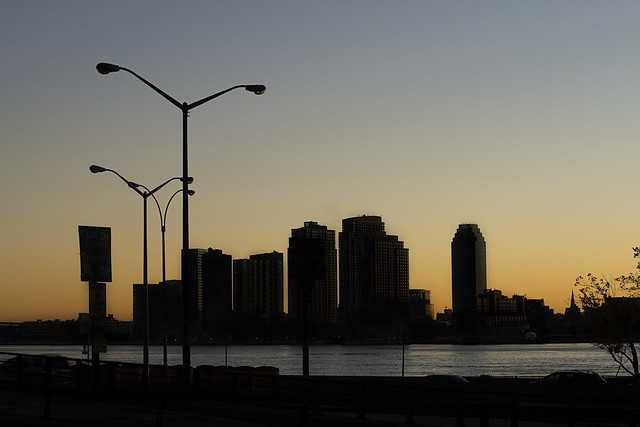
One of the advantages of being jet-lagged has to be waking up for sunrise.
Sunrise towards Brooklyn
28th West
Shadows
Sunrise

15.11.10

Amazing Aperture - Part II


Last week I talked about how aperture can be used to control the amount of light entering into the camera.  This week, I'm going to go through the basics of depth of field or focal length.
ISO400, f/4.0, 1/125

As we learnt last week large apertures of f/1.4 - f/3.5 are wide and allow a lot of light into the camera.  They also create very shallow depth of field.  This allows you to focus in on one aspect of your photograph and blur the rest of the foreground and background.  Lenses with large apertures tend to be used for still-life and portrait photography where it is useful to be able to blur unwanted distractions.
ISO100, f/10.0, 1/160

In contrast, small apertures of f/16, f/22 are very narrow.  They have very large focal ranges and tend to be used when you want everything in the photo to be in focus.  Landscape photography uses narrow apertures to allow both the foreground and the background to be equally focused so the viewer gets a panoramic view of the scene.

The diagram below helps to explain the relationship between aperture, distance and focal range.  It's from Christopher Russo (I googled aperture and came up with this).
Figure 1 has a wide aperture eg. f/2.8 and the camera is close to the main subject.  You can see from the areas shaded in green that the focal distance is small.  Only the yellow person will be in focus and the foreground and background people will be blurred.
Figure 2 also has a wide aperture (f/2.8) but this time the camera is further away from the subject.  The focal distance has been increased and more area is in focus, although the grey people are still a little bit blurred.
Figure 3 has a narrow aperture (eg. f/16) and the camera is close to the main subject.  All the subjects are in focus.  The narrow aperture has increased the depth of field.

If you're anything like me, reading these diagrams and the explainations will make your head hurt with little improvement in understanding.  It wasn't until I actually understood aperture that I understood the diagrams - but I put them there incase they help someone. The best way to get a grasp of aperture and depth of field is to play around with it and see what you can do. To give you a head start I'll show you the photos from last week again.
Instead of concentrating on the shutter speed and light aspects of the photos, look at how the background changes from semi-focused to almost completely blurred as the aperture is widened.  This is the depth of field becoming smaller as the aperture is widened.

If you have a P&S, you can partially control the aperture by adjusting the settings.  When you select 'landscape' your camera will choose a narrower aperture to maintain focus throughout the photograph.  If you select portrait it will use a wider aperture and attempt to blur out some of the background.


Next Week : Black and White


12.11.10

Melbourne

Last week it was New York, this week it's Melbourne.  I haven't lived in Melbourne since 2008 and the last time I visited was November last year.  I've been planning and scheming the trip for weeks and I'm hoping that Melbourne doesn't let me down in the weather department. This is the first time that Matthias and I are visiting  together and just secretly I'd really like him to fall in love with the place. No alterior motive here.  Nope, none at all.  Really, I've got no idea why you thought that I might like to live here again!

One of the things I'm most looking forward to about going 'home' will be hanging out with these two little men. Last time we met they looked like this. Otto is now a walking, talking toddler and Rowan has a collection of snails, worms and cockroaches. We've been counting down how many sleeps until we see each other since around 60 - right now we're on 3.  Not long now!

11.11.10

Bookshops and Groceries

Not many words today - I'm crazy busy finishing off the last minute packing, collecting and ready-ing for going away.  I leave for New York tomorrow morning - can't quite believe that something I've been looking forward to for ages is finally here.  It all seems a little surreal!  Happily my polaroid film arrived yesterday - I took one "test picture" to make sure everything works and almost squeaked in excitment when the picture turned out so well.   Now I can officially declare my camera a bargain buy at 8 Euro.   I have grand plans for the rest of the film that has something to do with the Sketchbook Project - remember how I was supposed to be doing that?  Well, its happening this holidays.

But now back to packing...
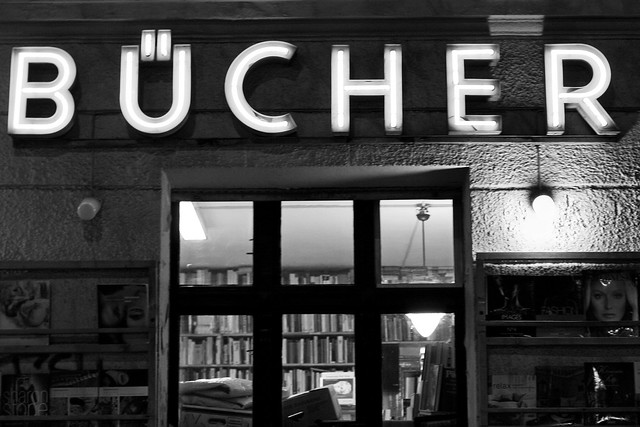
69/365 : bucher
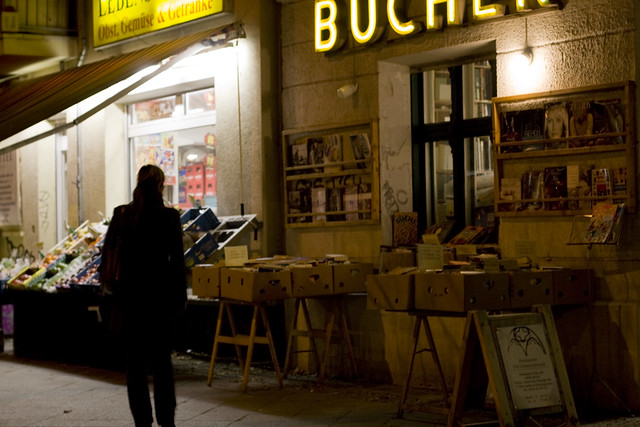
Contemplating books
Picking up dinner
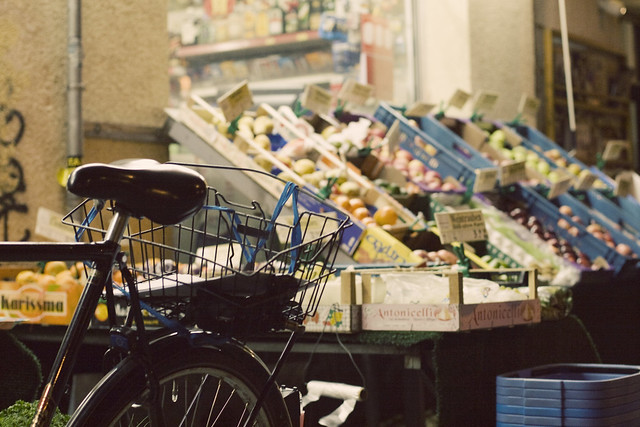
70/365 : Bike