By now if you've been reading along with this series you should have some understanding of the three basic element of photography -
ISO,
shutter speed and
aperture - have a basic understanding of
manual mode and some concept of
colour compensation. Today I'm going to try to convince you as to why manual is in fact easier to use than other semi-automatic modes, especially when you are trying to create specific moods in your photos. Having said that, it's not always the best mode to use, in certain situations allowing the camera to do some of the thinking will produce the best results.
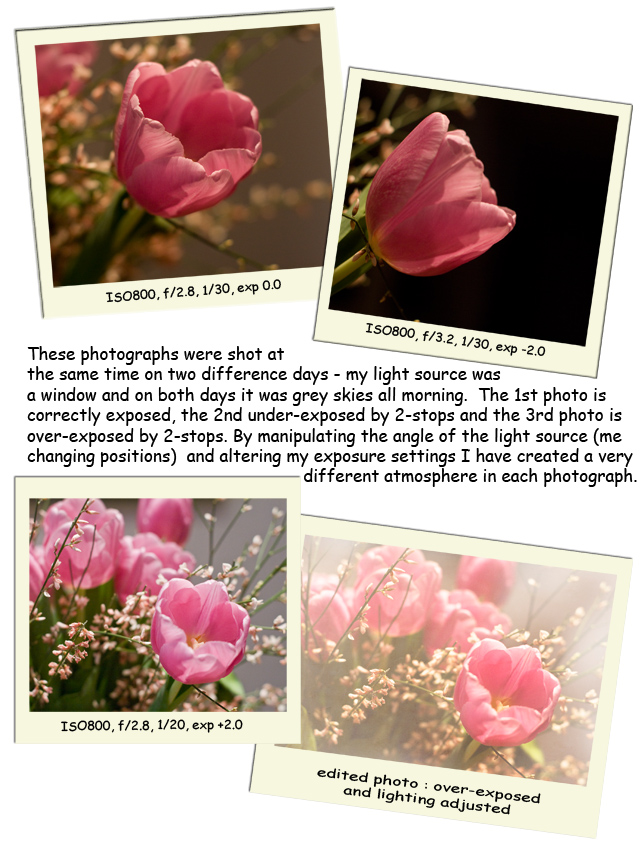
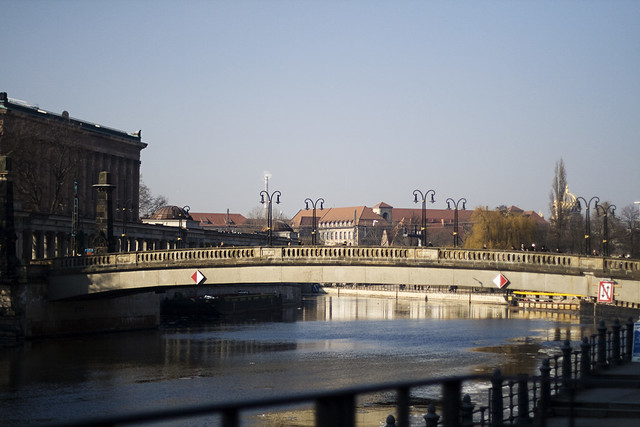
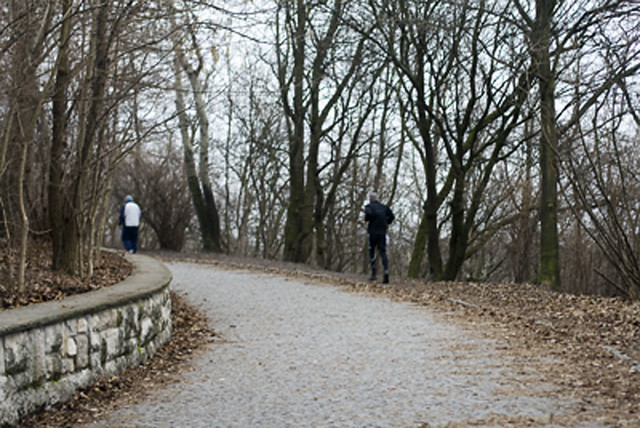
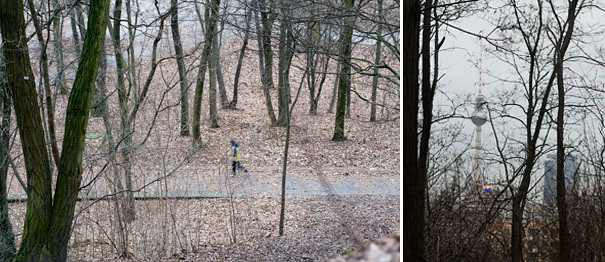
** The text should read : These photos were shot at the same time on two different days (bad typo - sorry!)
Creating these three different exposures or moods using Shutter Priority or Aperture Priority would be quite bothersome. On my camera it would be a two-step process that involves me holding down one button while adjusting my shutter speed or aperture with the other and setting the light meter to under-expose or over-expose. Definitely possible, but a bit of a pain. In manual all I need to do is adjust my shutter speed up or down so that the light meter in my view finder is showing that the photo will be under or over-exposed. If that all sounded like gobbeldygook then head back
here for a refresher.
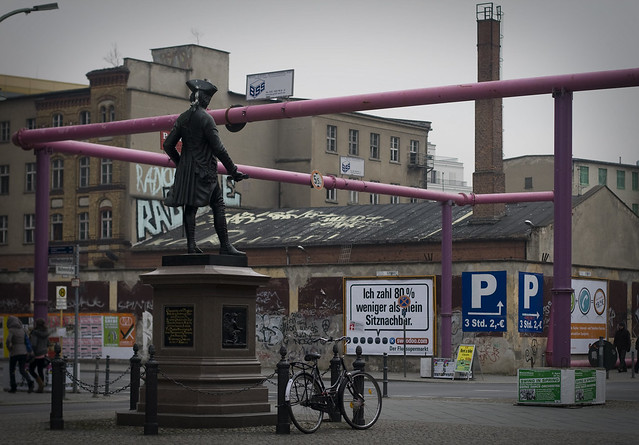
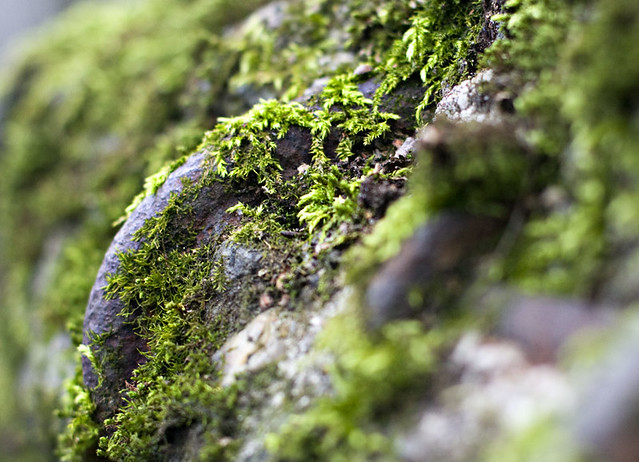
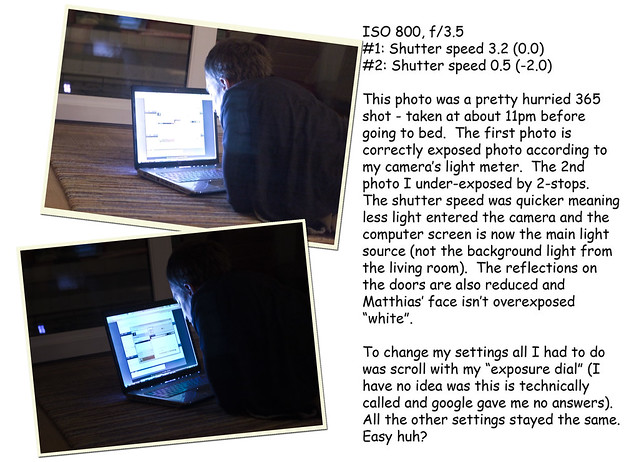
Here's another example of when manual mode was much better than aperture priority, shutter priority or automatic.
If you are approaching manual mode for the first time it can seem a little daunting. Practice is the key and mistakes, especially in photography, almost always teach you something. Here is how I approach manual mode. It's not the only way, or necessarily the best way, but it works for me.
Step 1. White Balance: What conditions are you going to be photographing? If you are inside or under fluorescent light consider setting your White Balance to Tungsten or Fluorescent. If you want to enhance a sunset, think about switching to a Sunny White Balance.
Step 2. Select your ISO: Usually you'll be photographing in similar conditions for a while, select or check that your ISO is logical for your current "photo session"
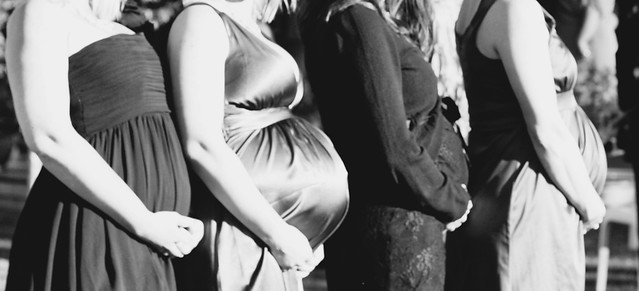
Step 3. Composition: Ask yourself what "story" or "message" you want to convey in your photos. Can you recompose the image to make this message clearer? Think about Andreas Feiniger's three prinicples of
exploration, isolation and organisation Step 4. Aperture: What aperture do you want? Do you want everything focused or only a small aspect of the photograph? With P&S cameras switch from landscape (the mountain), to action (a running man) or close-up (usually a flower), with a dSLR consider the aperture that you want
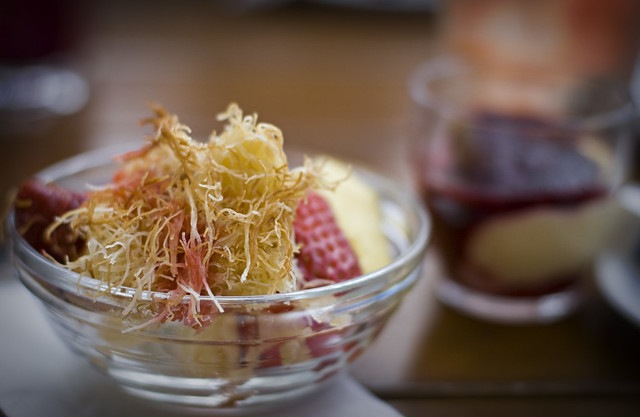
Step 5. Colour Compensation: What is the main colour of your photograph? Should you consider over or under exposing to achieve the best colour range in this photo?
Step 6. Adjust the shutter speed: Adjust the shutter speed based on your decision about colour compensation and the atmosphere in your photo - dark and gloomy or bright and ethereal?
Step 7. Assess your shutter speed: Will you get camera shake at this shutter speed? Do you need to adjust the ISO and/or aperture to get a crisp image?
It may seem like a lot, but a lot of these steps need only be done once or twice, especially if the light conditions stay the same and you'll only need to make small changes to your shutter speed.